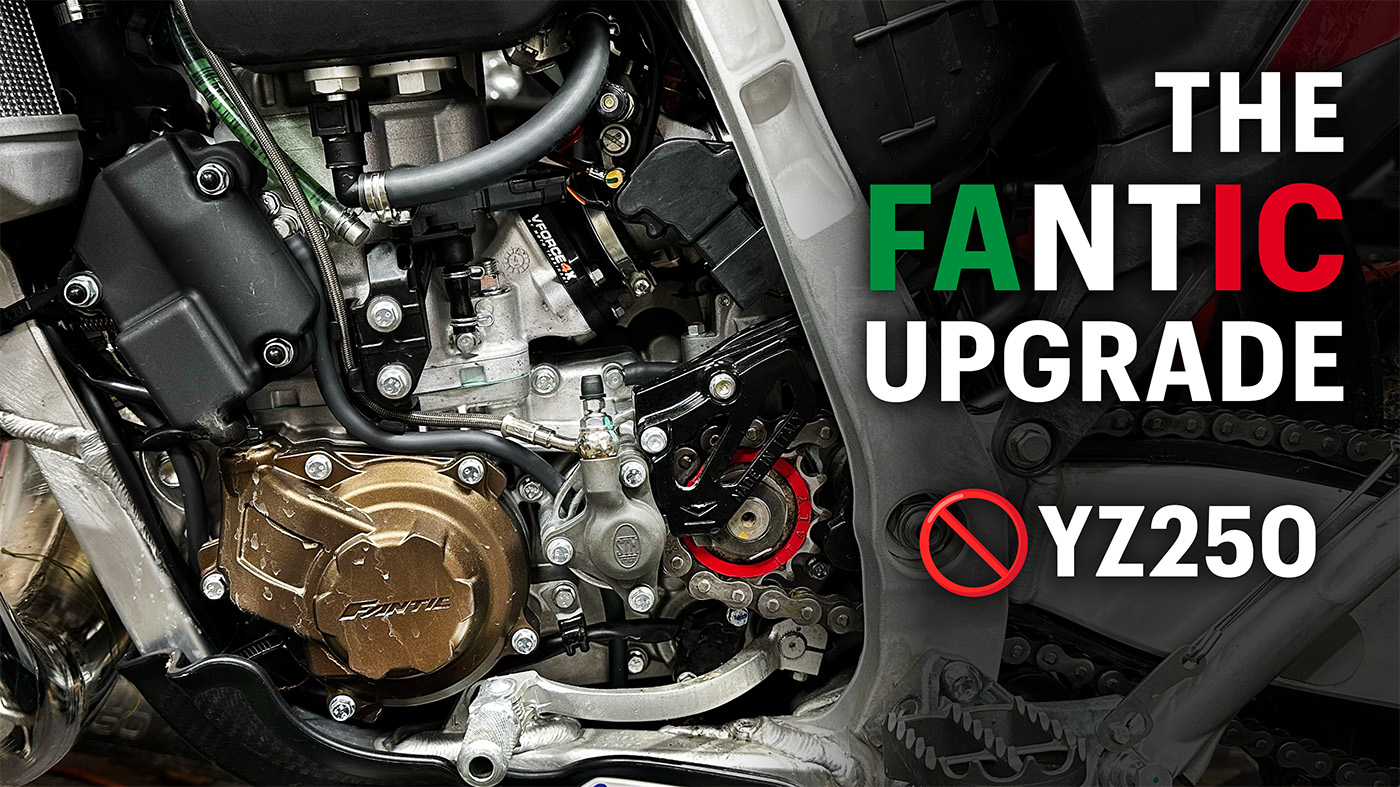
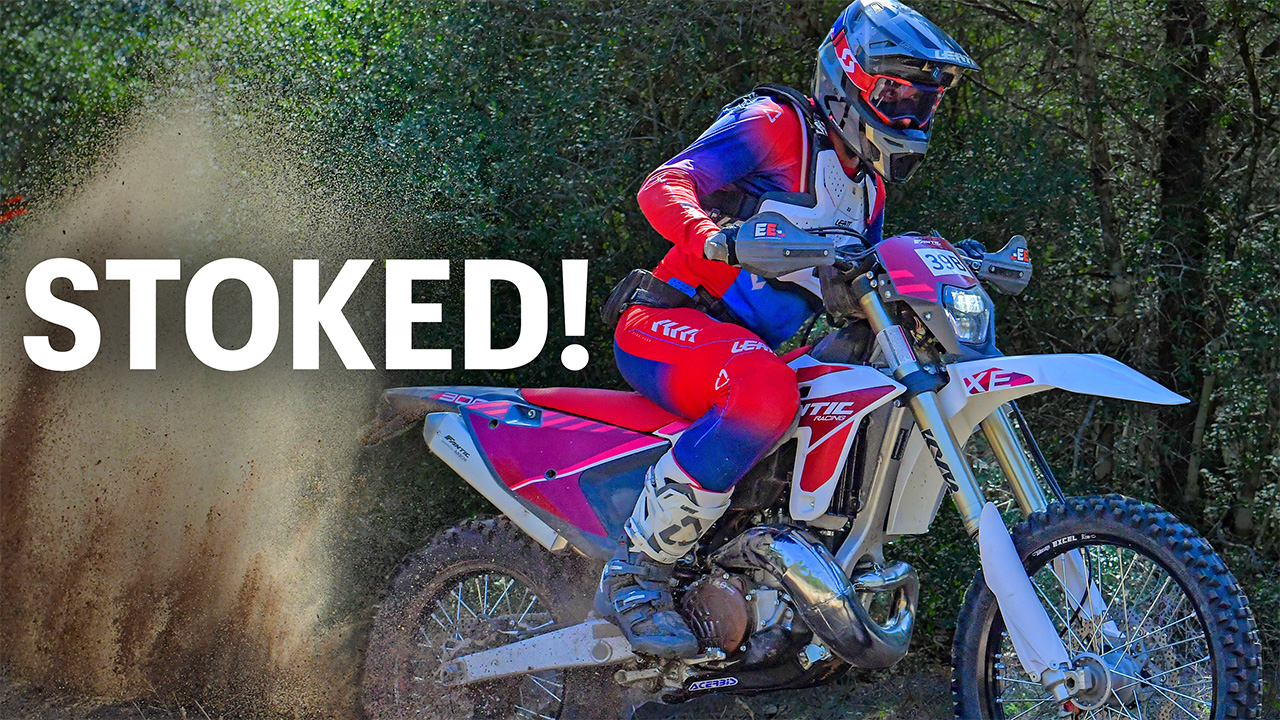
The Fantic XE300 is based on the YZ250 chassis, and in that it comes stock with the YZ250 triple clamps. These clamps are 25mm offset, which is the distance from the center of the steering stem to the center of the forks. Though it doesn’t seem like it should be a big deal, this creates a longer wheelbase than a more traditional offset. A longer wheelbase gives the Fantic a very stable feel, especially at higher speeds, but it keeps the bike feeling slow when the terrain gets more technical or the singletrack gets tight. This is a problem for a dirt bike that is marketed as an offroad bike, not a motocross bike.
Watch Video on YouTube
When I first rode the Fantic I wasn’t up to race pace yet. At Sandwinder, I was still making shock preload adjustments, moving my levers, and rotating the bars around. That’s because my race pace is different from my trail riding pace. As I got up to speed, I felt I needed a different setup, even though the comments on the video weren’t happy with me (haha). Now that I have gotten the Fantic into the tighter trails, and into more technical terrain, I remembered what Braxton talked about in our King of the Motos interview. I felt exactly what we described, and the solution he spoke of then was the same Cody Webb found on his YZ250 at the time: 23mm offset LuxonMX Gen3 Pro Triple Clamps.
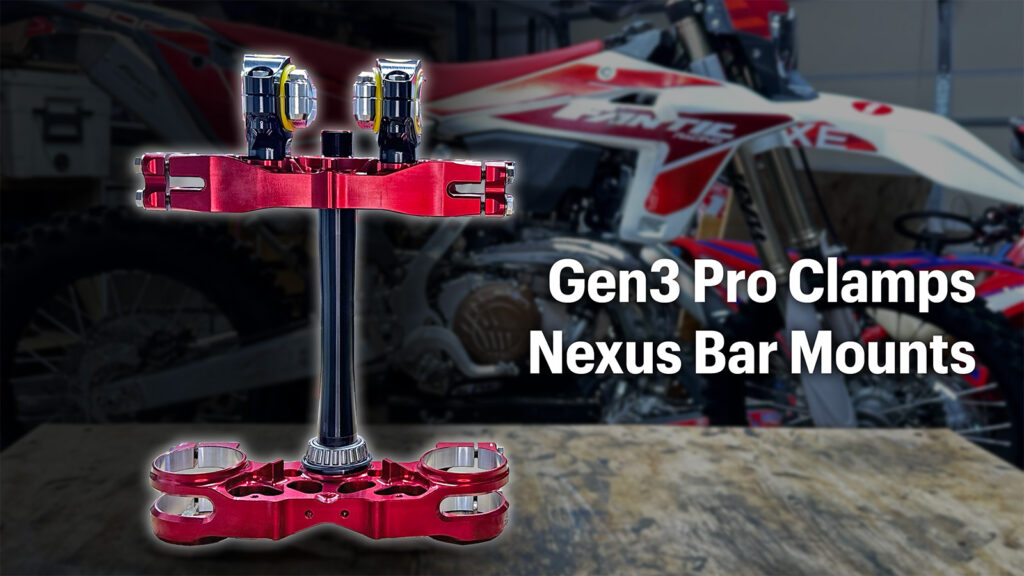
LuxonMX Gen3 Pro Triple Clamps Setup & Impressions
As I started my research, and sent a few emails, I learned there is a Gen3 Standard and a Gen3 Pro version of the LuxonMX Gen3 Triple Clamps. The Gen3 Standard clamp is what the Gen3 Pro offers, with a more affordable price tag due to less adjustability and no titanium bits. Luxon thought it best I go with the Gen3 Pro for the direct 23mm offset due to what Cody Webb and Braxton both found to be the best for the frame and chassis. The fancy titanium parts added into the mix are just extra bling and something I honestly haven’t ever had before. Yes, I said bling.
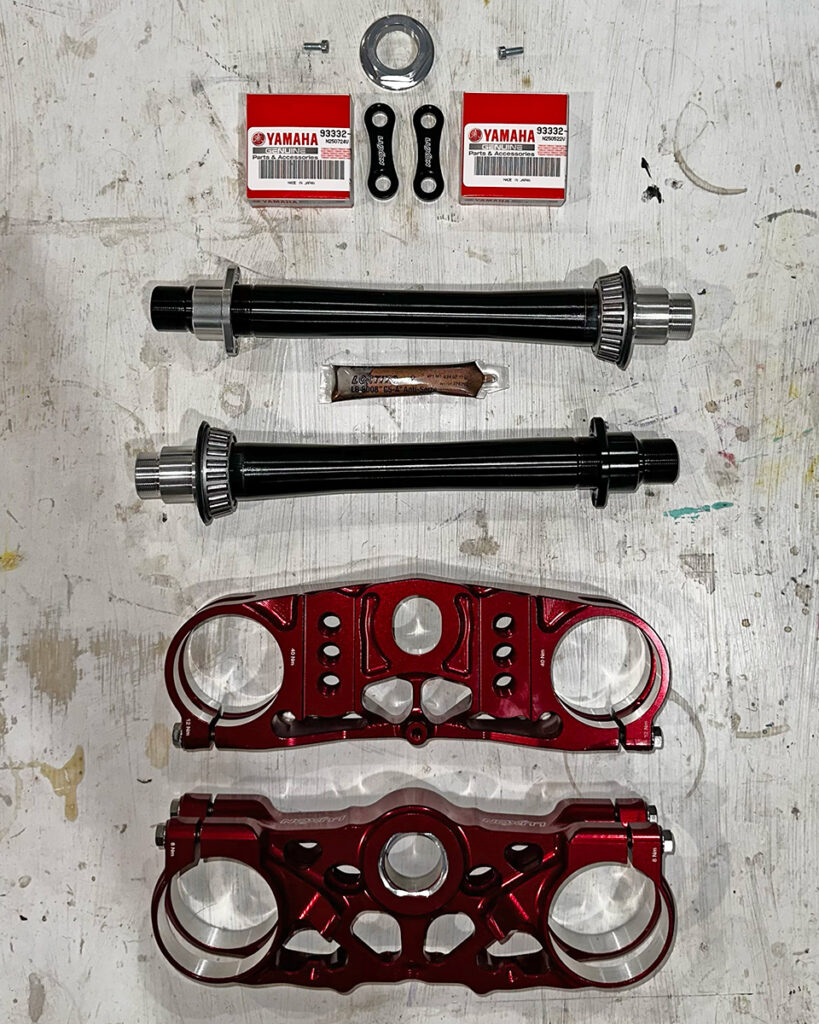
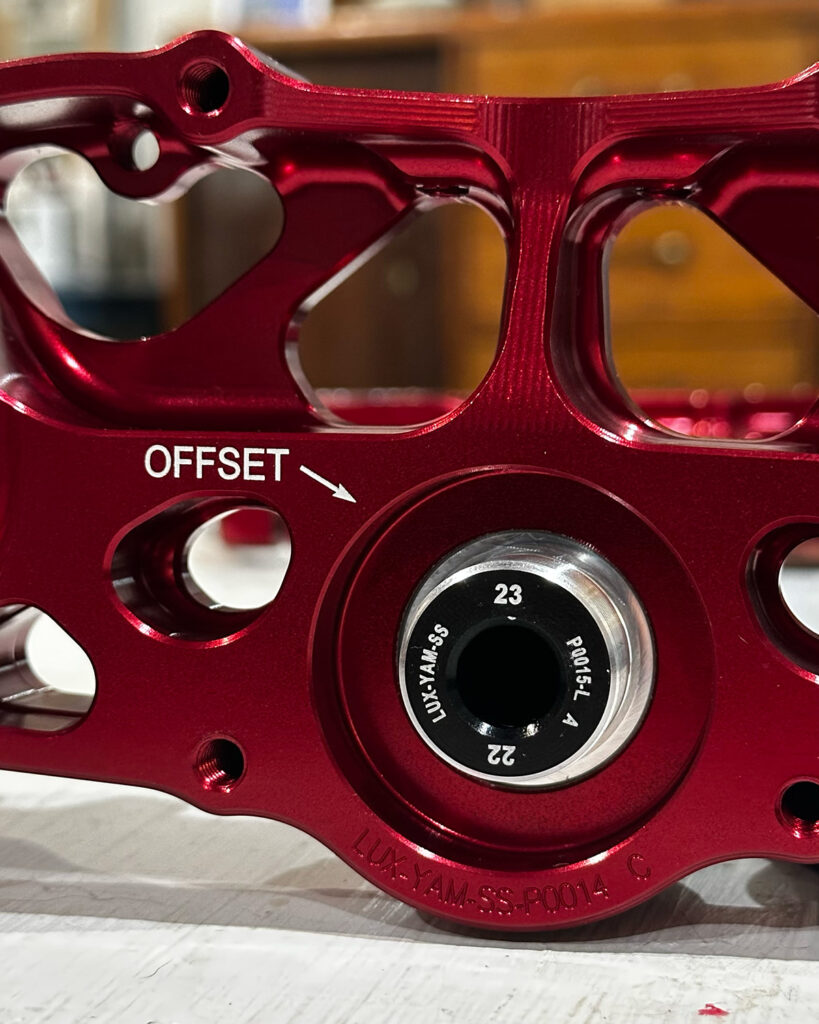
The Gen3 Pro Triple Clamp kit comes with two steering stems, one has the capability of 22 & 23 millimeter offset, while the other is set up for 21 & 24 millimeter offset; they both include their respective inserts for the top clamps. Luxon does this so riders could change these stems and inserts at the van for quick changes due to conditions or terrain. The steering stems are eccentric, so their mounting center is offset to create the desired triple clamp offset. This sets the stems in the bottom clamp at the desired offset, and then the insert as a matching offset for the top triple clamp. I’ve seen stuff like this before with eccentric bottom brackets on bicycles (singlespeeds normally), but this is my first foray into it on a dirt bike (I think).
The Gen3 Pro kit also comes with titanium bolts, so it’s lighter, and I’m assuming, titanium has a different feel over steel (my baby hands approve). The Pro clamps also do not have any anodizing where the forks fit into the clamps. This creates a tighter tolerance while also allowing for better bite on the fork tubes; this helps with the tubes turning less in a crash (ask me how I know). Another addition to the Pro clamp kit is a set of braces a rider can add to the split clamps. If you’re someone who’s looking to “increase precision at the expense of comfort”, you’ll want to play with adding these braces to the split clamps. Lastly, the Luxon website says this about the Pro clamps “Gen3 Pro version is overall stiffer in torsion, laterally, and vertically, yet still offers the same flex longitudinally (front to back) as our Gen3 Standard clamp for comfort in chop and slap-down landings”.
As far as installing the Luxon Gen3 clamps onto the bike, it was a simple process honestly. You pick your desired offset, tighten the stem nut to 100 Nm with blue loctite (or StuckNutz), and grease the heck out of the bottom bearing. From there you’re installing triple clamps like you would on any other bike. The Fantic has a lot of wires that are behind the front number plate. They seem to want to bunch up and create some extra tension in the steering. If they’re not going to be used in the bikes that are brought to the States, are they necessary?
LuxonMX Nexus Bar Mounts: Setup & First Impressions
The next part of this was installing the LuxonMX Nexus Bar Mounts. Though Luxon has had some isolation bar mounts previously, the Nexus is their bar mount that is truly trying to compete with the XC Gear MAKO360 and the Urmosi 720 SBC Soft Bar Clamp. The ones I received are made to mount directly to the Gen3 clamps, but they offer the Nexus Bar Mounts for most brands and top triple clamps.
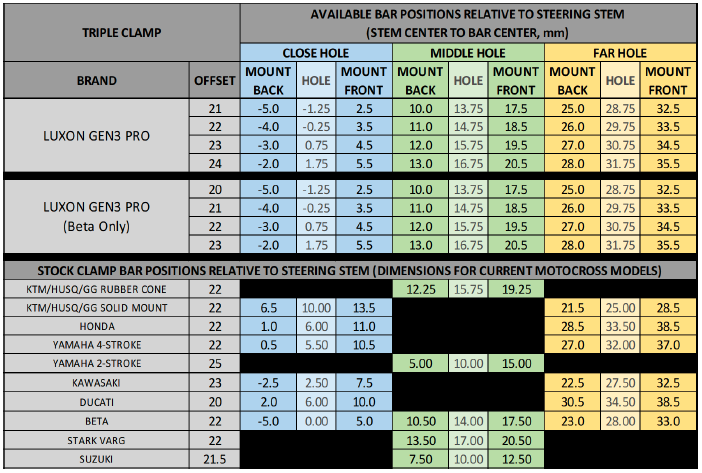
It’s commonplace these days to see reversible bar mounts, so that ability from Luxon makes a lot of sense. The chart they have with the Gen3 clamps shows what your handlebar setup would be at in the stock position, or front/back if available. This allows you to see how you should set up your bar mounts for the first install. I will admit, it took me a few times to figure out what the chart was trying to tell me. What I figured out is that the handlebar on the Fantic was set up 15mm forward of the center of the stem. With the Gen3 Clamps and the Nexus Bar Mounts, the center hole would have me at 19.5mm from center or 12mm from center. Since I don’t mind being a tad more forward, I went with the Nexus in the middle hole (of the three) and in the front position. So far so good.
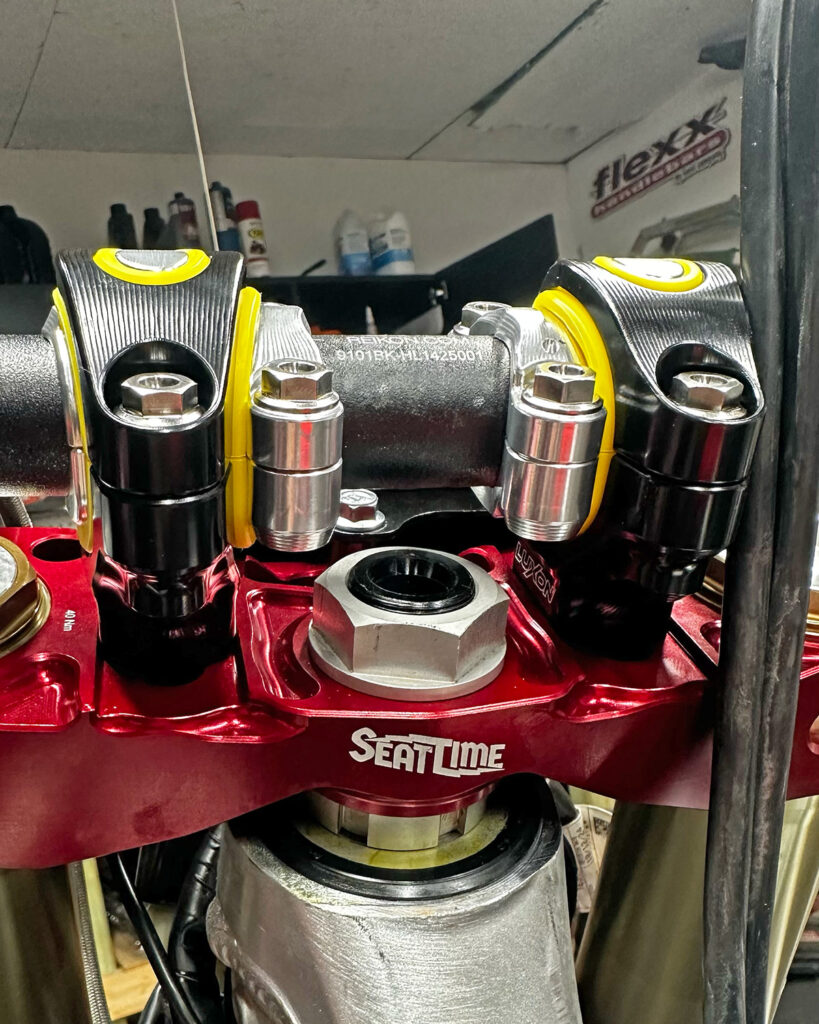
The Nexus Bar Mounts can be set up so the clamp bolts can be on the inside or the outside. This is good in case you have a steering dampener, narrow bend bars, or just want a certain look. I put the clamp bolts to the inside because that setup just looked cleaner. I have Ti bolts on my bike now, fashion is key.
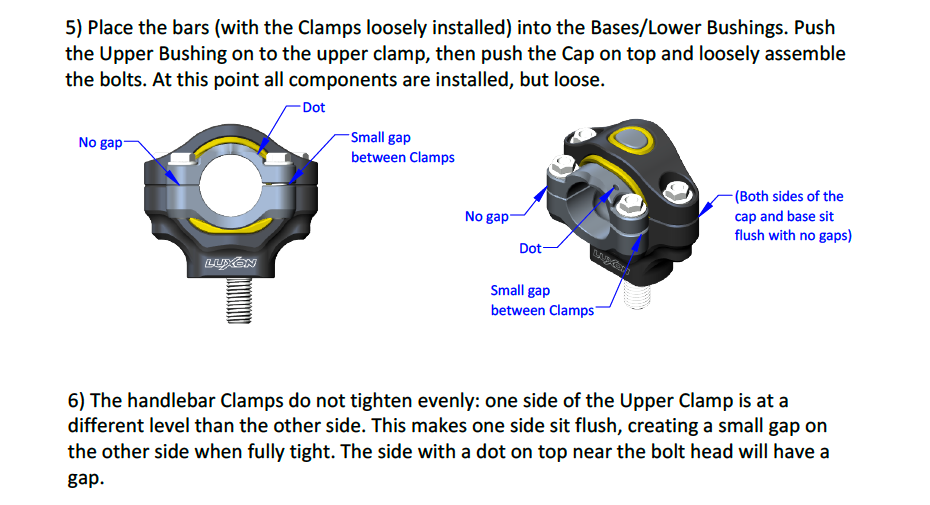
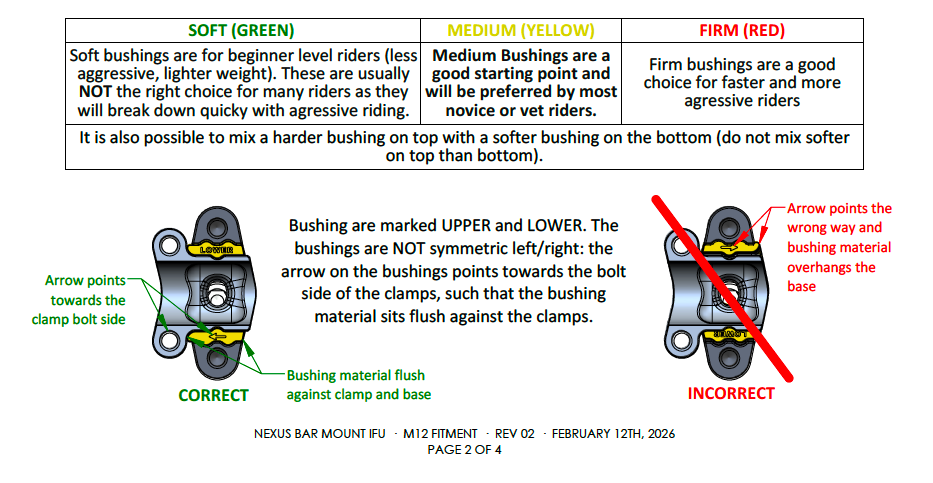
The bushings included come in soft, medium, and firm, just like any good Saturday night, really. They’re even color coded for the opportunity for your riding buddies to make fun of you for running Green. I started with Yellow, which is the medium bushing. I was running Red polymers in my Mako360 last year, so I believe I’ll get to running Red again with the Nexus, but only time (and my hands) will tell. Though the clamp bolts can be set up inside/outside, the setup for the bushings is directional inside the clamp. The instructions mention the arrow on the bushings and the little dot on the clamp. Pay attention to that setup and don’t force it, because the bushing fits in a certain way and the dot signifies which bolt gets set up and tightened first.
As with any of the isolation bar mounts that I’ve tried, the markings on the bar get covered up when installed. I had to make small marks with a blade to make sure I had the handlebar centered and rotated where I wanted to be. Nothing crazy, but something to remember to plan for before trying to tighten everything down.
Install and First Ride
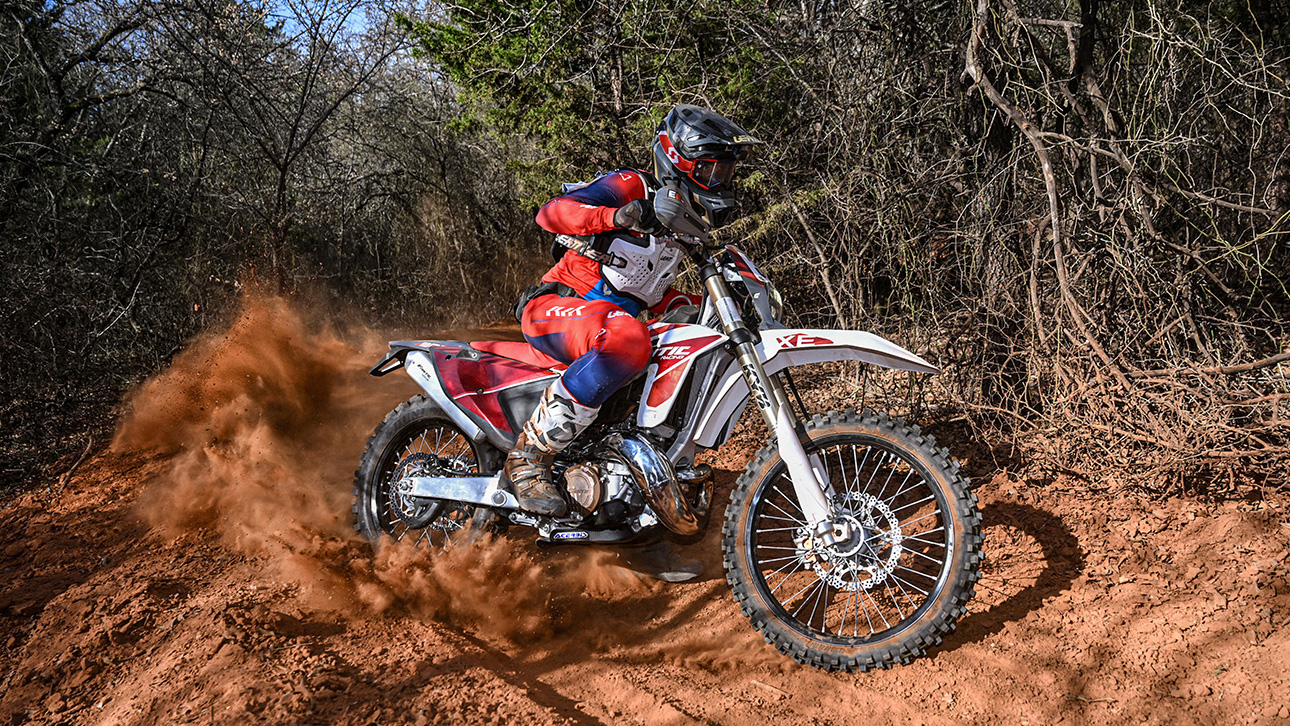
The first ride with the new clamps and bar mounts was at Barnwell Mountain. Hopefully you know from previous footage I’ve shared that Barnwell Mountain is an OHV park that has a little bit of everything. I really enjoy it for the technical, off-camber trails that shoot you up, down, and over some cool East Texas hills. With Matt Crouch and his buddies showing up to ride as well, I tagged along for some wicked good trails that were in the Enduro I missed at the end of 2025.
I noticed right away that the bike felt more nimble, yet still stable. I could stand up, or sit down, and wiggle through the tighter sections. I could also weave through the flowier trails at a pace that felt a bit more reminiscent of 2025. Though I didn’t need the Pro clamp kit for this, the Standard clamp only comes in a 22mm or a 23.5mm, and I do believe what Braxton and Cody have discussed about the 23mm offset is correct. The wheelbase the 23mm offset creates allows for stability at speed, while also having the ability to feel nimble and agile in the tight singletrack. I do need to get back to Callisburg for the tighter trails to truly feel the bike out with this offset. This weekend at Farm14 National Enduro sounds like they will also have a few tight sections to see how I feel on the bike.
As for the Nexus Bar Mounts, the Medium bushings did their job extremely well. I didn’t feel any bar movement, or rotation, which can happen when using softer bushings or polymers. The 30 miles I did on the day left zero wear on my hands. I know this may seem like nothing to some riders, but I know my hands and how they progress. I leverage what I do for my hands because even after years of riding, they don’t just “toughen up”; these are the hands I have.
The feeling of the benefit of a part, while not being drawn to it, is what you want to feel with any addition to the motorcycle. You also don’t want to feel any negative side effects from other parts of the bike. Because I was able to focus less on maneuvering the bike through the trees, I noticed how good the torque is on the Fantic. I was riding in the wild map, with TC turned up to 6. During the climbs, and tighter sections, I would stay in second gear. It would lug well, and coast smoothly. As I would start to get faster though, I wanted to shift to third. This is why I’m going to eventually try a 52T rear sprocket. I’m hoping second will be my true first for trails, and third will be more lugging and trail speed gear. After that fourth will be for the faster flowy trails and fifth for when I’m trying to scare myself.
If you have questions on things I didn’t cover, please ask. If you have comments or concerns, please share. The Fantic XE300 has been a fun bike so far to learn about, I hope you’re enjoying the journey. If not, I hope you enjoy getting seat time on your own.
0 Comments
Leave A Comment