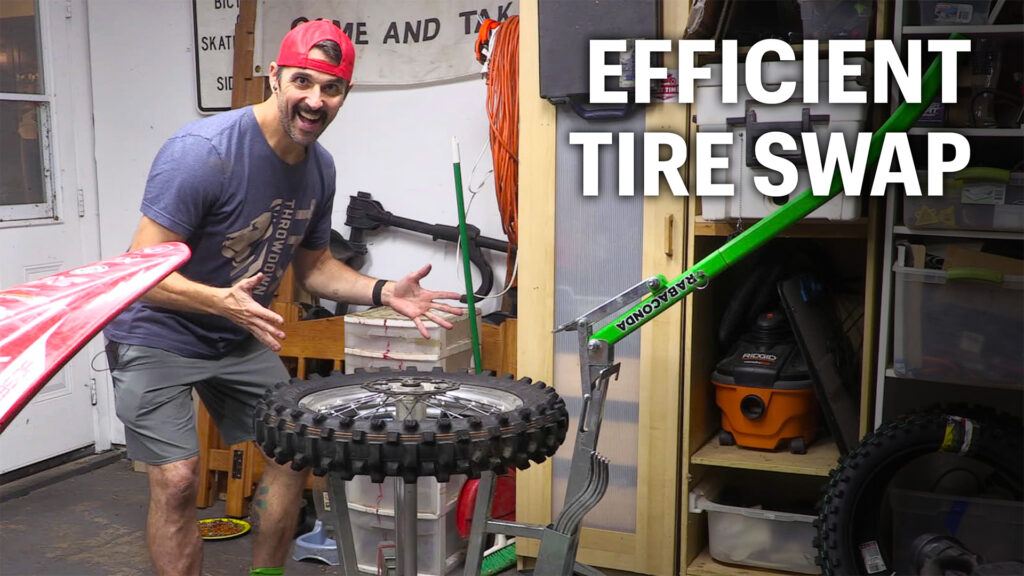
Why the Rabaconda Improves the Process
I’ve changed a lot of tires and mousse balls this year while racing. I’ve fine tuned my Rabaconda process pretty darn well. Even though most of us start with a few tire irons and a milk crate, and yes, some still prefer that method, the Rabaconda Dirt Bike Tire Changer drastically shifts a riders maintenance experience.
This tool is a great asset for riders who frequently swap their tires, especially those running bib mousses or mousse balls. It’s not about speed as much as it is about finding a process to gain leverage and control.
For this guide, I use the Rabaconda system, including the Rabaconda Lift Kit and the Rabaconda Pro Tire Iron Set, along with a few extra tire irons. This combination makes the entire dirt bike tire change process easier and more predictable.
Dismounting the Old Tire: The Rabaconda Advantage
The Rabaconda makes gaining slack and breaking the bead a clean, efficient process. Here are the steps for removing your old tire:
- Prep the Rim Lock: Start by ensuring the rim lock is loosened. Position the rim lock at the 5 o’clock position on the stand before setting any irons into the tire.
- Break the Bead: The arm on the Rabaconda is key here. Use it to push the bead down on the rim, which gives you the necessary space to insert your tire irons without fighting the bead tension.
- Set the Irons: Once the bead is relaxed, insert four to five tire irons, spaced about 3–4 inches apart, into the tire.
- Pry Off the Rim: Pry the bead off of that section of the rim using your set irons.
- Flip and Finish: From there, flip the wheel over and use the arm to now push the tire off of the rim entirely. Rotate the tire as needed, making sure not to damage the tire or get caught on the rim lock.
Mounting the New Tire: The Lower Bead
The first phase is about getting the lower bead set, relying on your body for proper tension and leverage.
- Start the Mount: Set the new tire onto the rim, pressing the rim lock out so you can fit the bead of the tire between the rim and the rim lock.
- Use Your Body: Use your thigh or waist to hold the tire firmly against the rim lock to keep it in place.
- Work the First Bead On: Use two tire irons (curved work best here) to begin to work the lower bead onto the rim. Position them at about 3 & 9 or 2 & 10 if you looked at the wheel as a clock face.
- Finish the Bead: Hold these first two irons in place with an elbow or foot as you grab another tire iron and finish pushing the rest of the bead into the rim well. This may take some muscle or heavy leaning, especially with a brand new mousse and new tire.
Mounting the New Tire: The Final Bead
Setting the final bead, including a rim lock trick tire iron trick.
- Prep the Rim Lock Position: With the first bead set, rotate the wheel so the rim lock is positioned at the 1 o’clock position.
- Set the Tire and Lever: Set a tire iron just to the left of the rim lock and set its handle into the holding latch on the main body of the Rabaconda to lock your starting point.
- Work the Final Bead: Using a few extra tire irons, start working the final bead onto the rim in a counter clockwise pattern. The more tire irons the merrier to help set the bead into the well of the rim. You can push down on these if the final push gets tough, driving more space to set the bead.
- The Rim Lock Trick: As you get about two-thirds of the way around, the tire will start to fight you. Set a tire iron on the bolt of the rim lock so you can use it to push the rim lock down into the rim. This creates the necessary slack for the final bead to pass over it.
- Final Leverage: With the rim lock pushed down, use your longer tire irons to help bring the final section of the bead the rest of the way onto the rim.
- Cleanup: After the bead drops in, move the iron out of the way, and remove all remaining irons.
Troubleshooting & Final Tips (Mousse Patience)
The process of mounting a dirt bike tire with a Rabaconda can be quick and efficient, but it does take time to get your flow down.
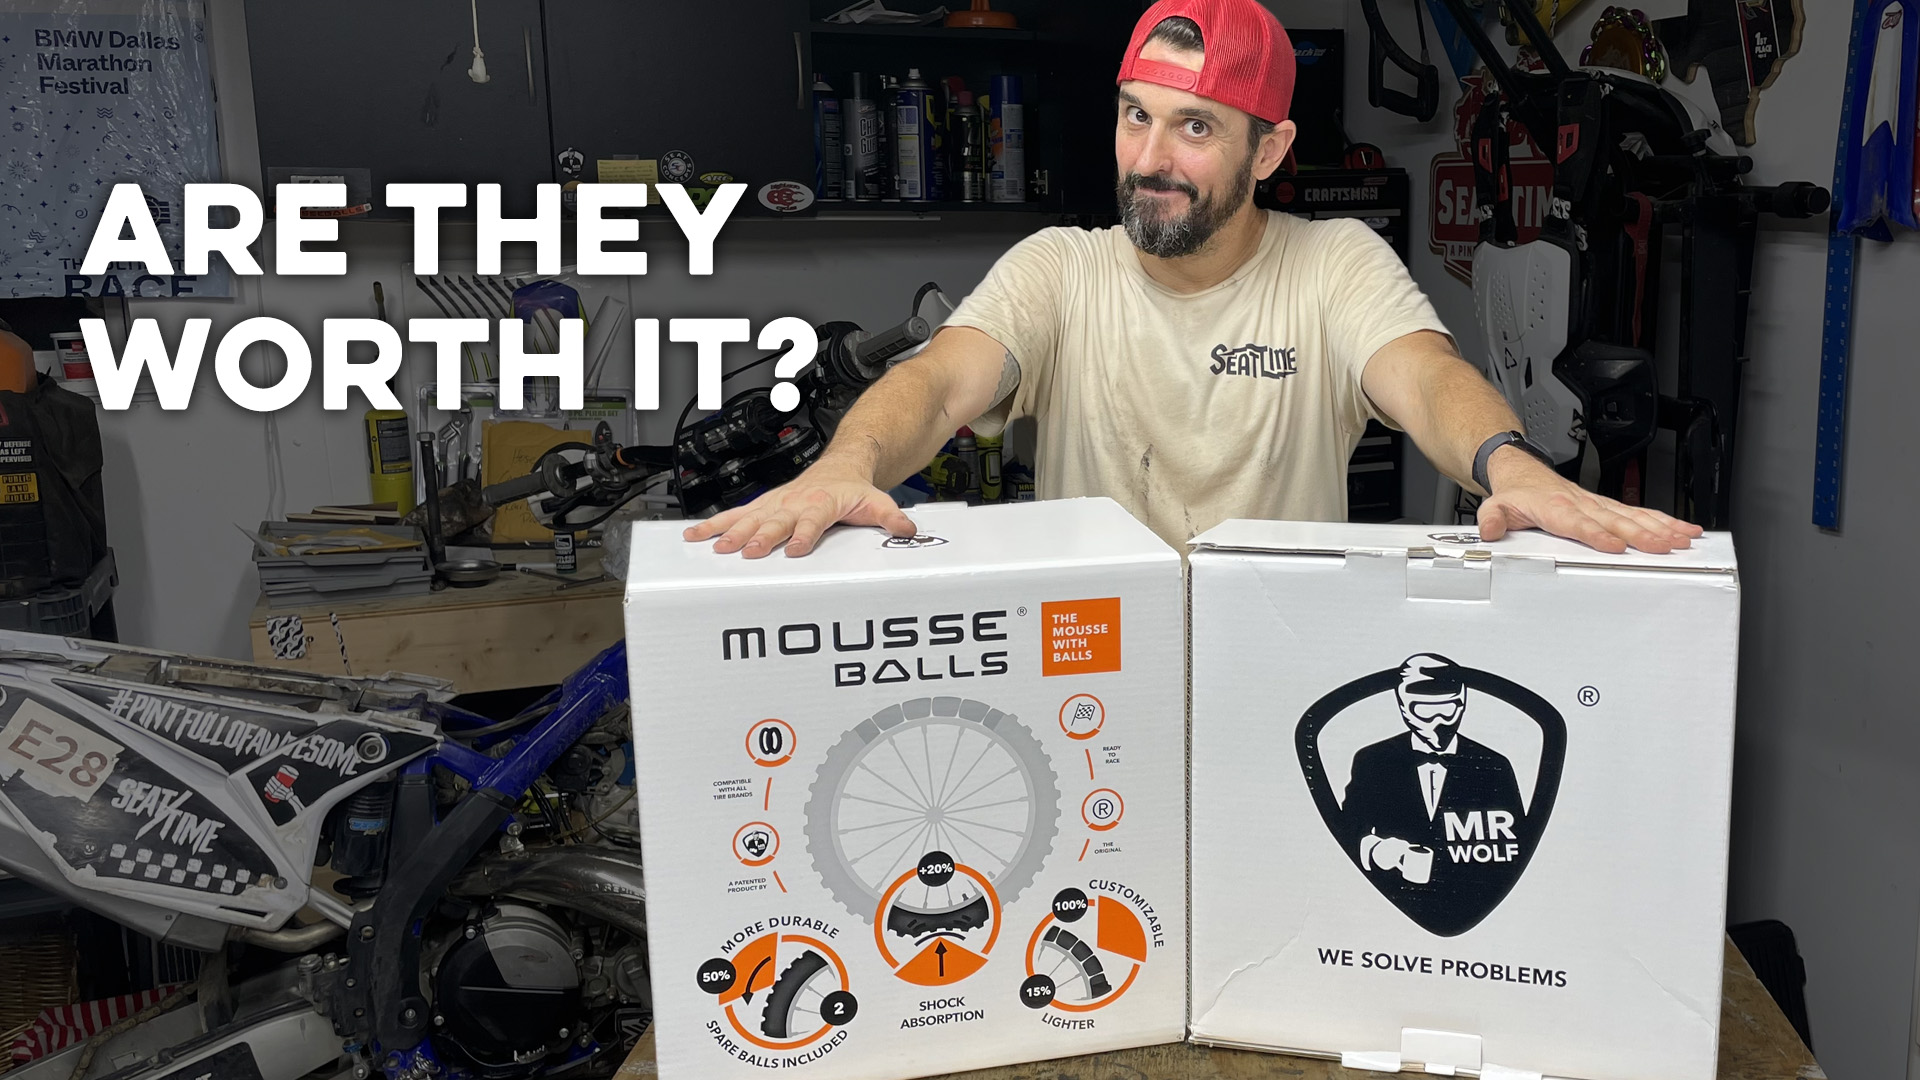
- Patience is Mandatory: When you have a brand new bib mousse and new tire to mount up, be extra patient. This setup can be a beating due to the tightness.
- Lubrication is Essential: Always use soapy water or a bead lube generously. Proper lubrication is your best tool for getting the beads to slide smoothly.
- Leverage is Everything: Pay attention to how you need to leverage your weight around the stand, and which tire irons to place where. Once you figure this out, you’ll be a pro at changing tires and truly maximize the Rabaconda’s efficiency.
If you have comments or questions, please become a Seat Time Substack Supporter and begin the dialogue below. If $5/month is too much, jump over to the youtube video and leave a comment there.

0 Comments
Leave A Comment